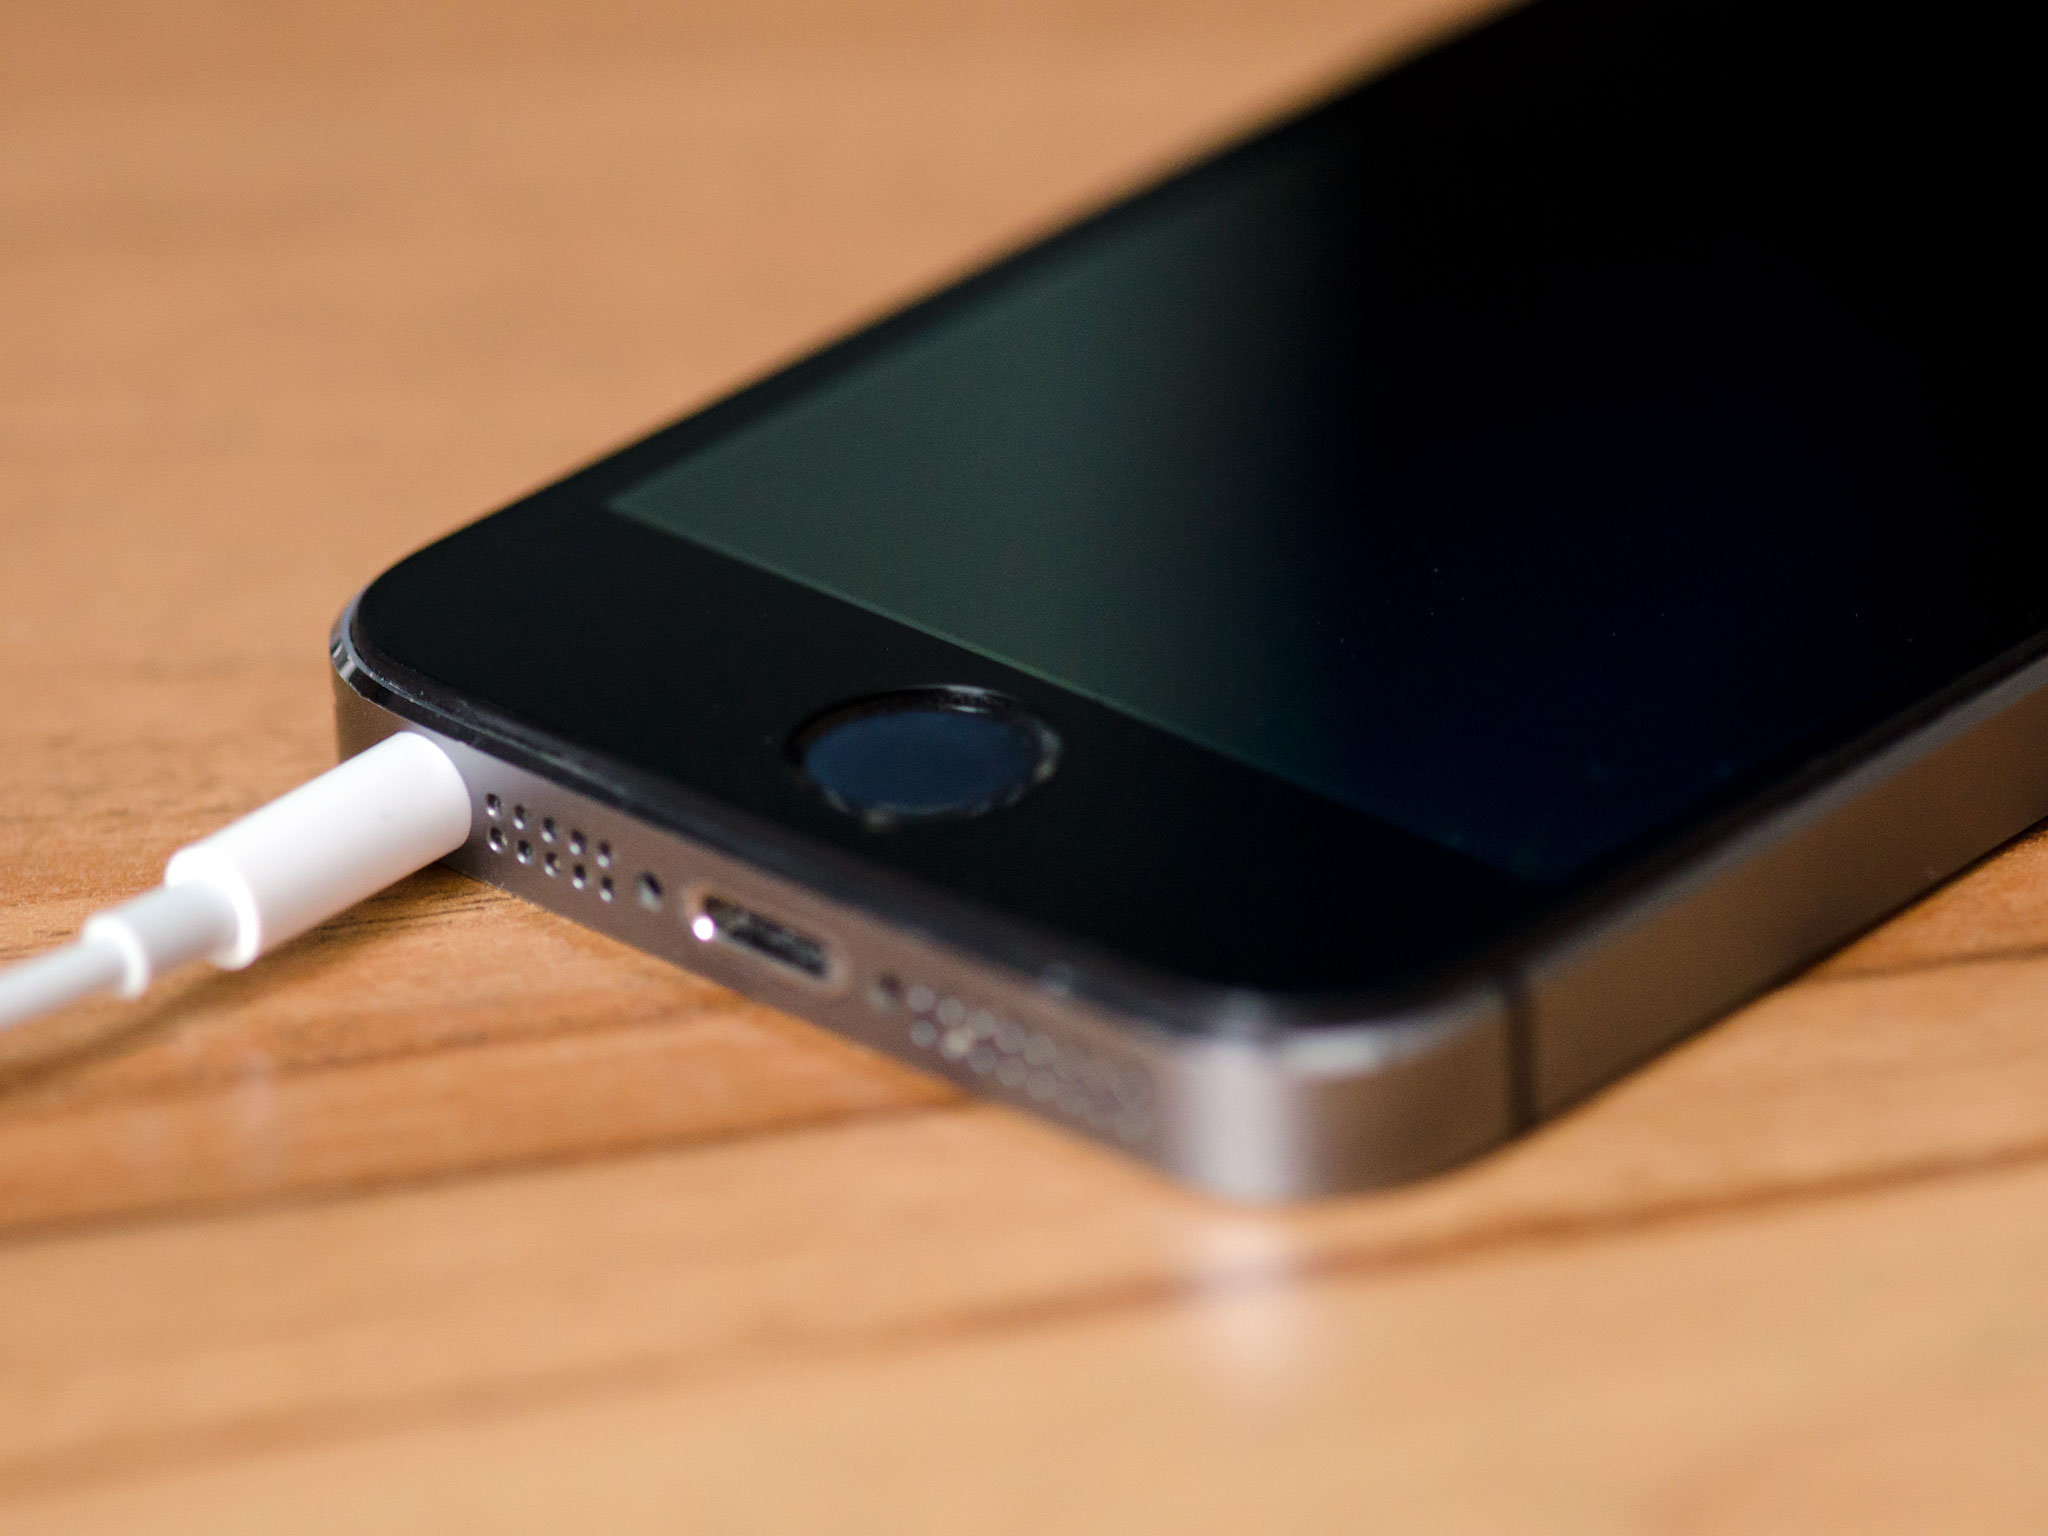
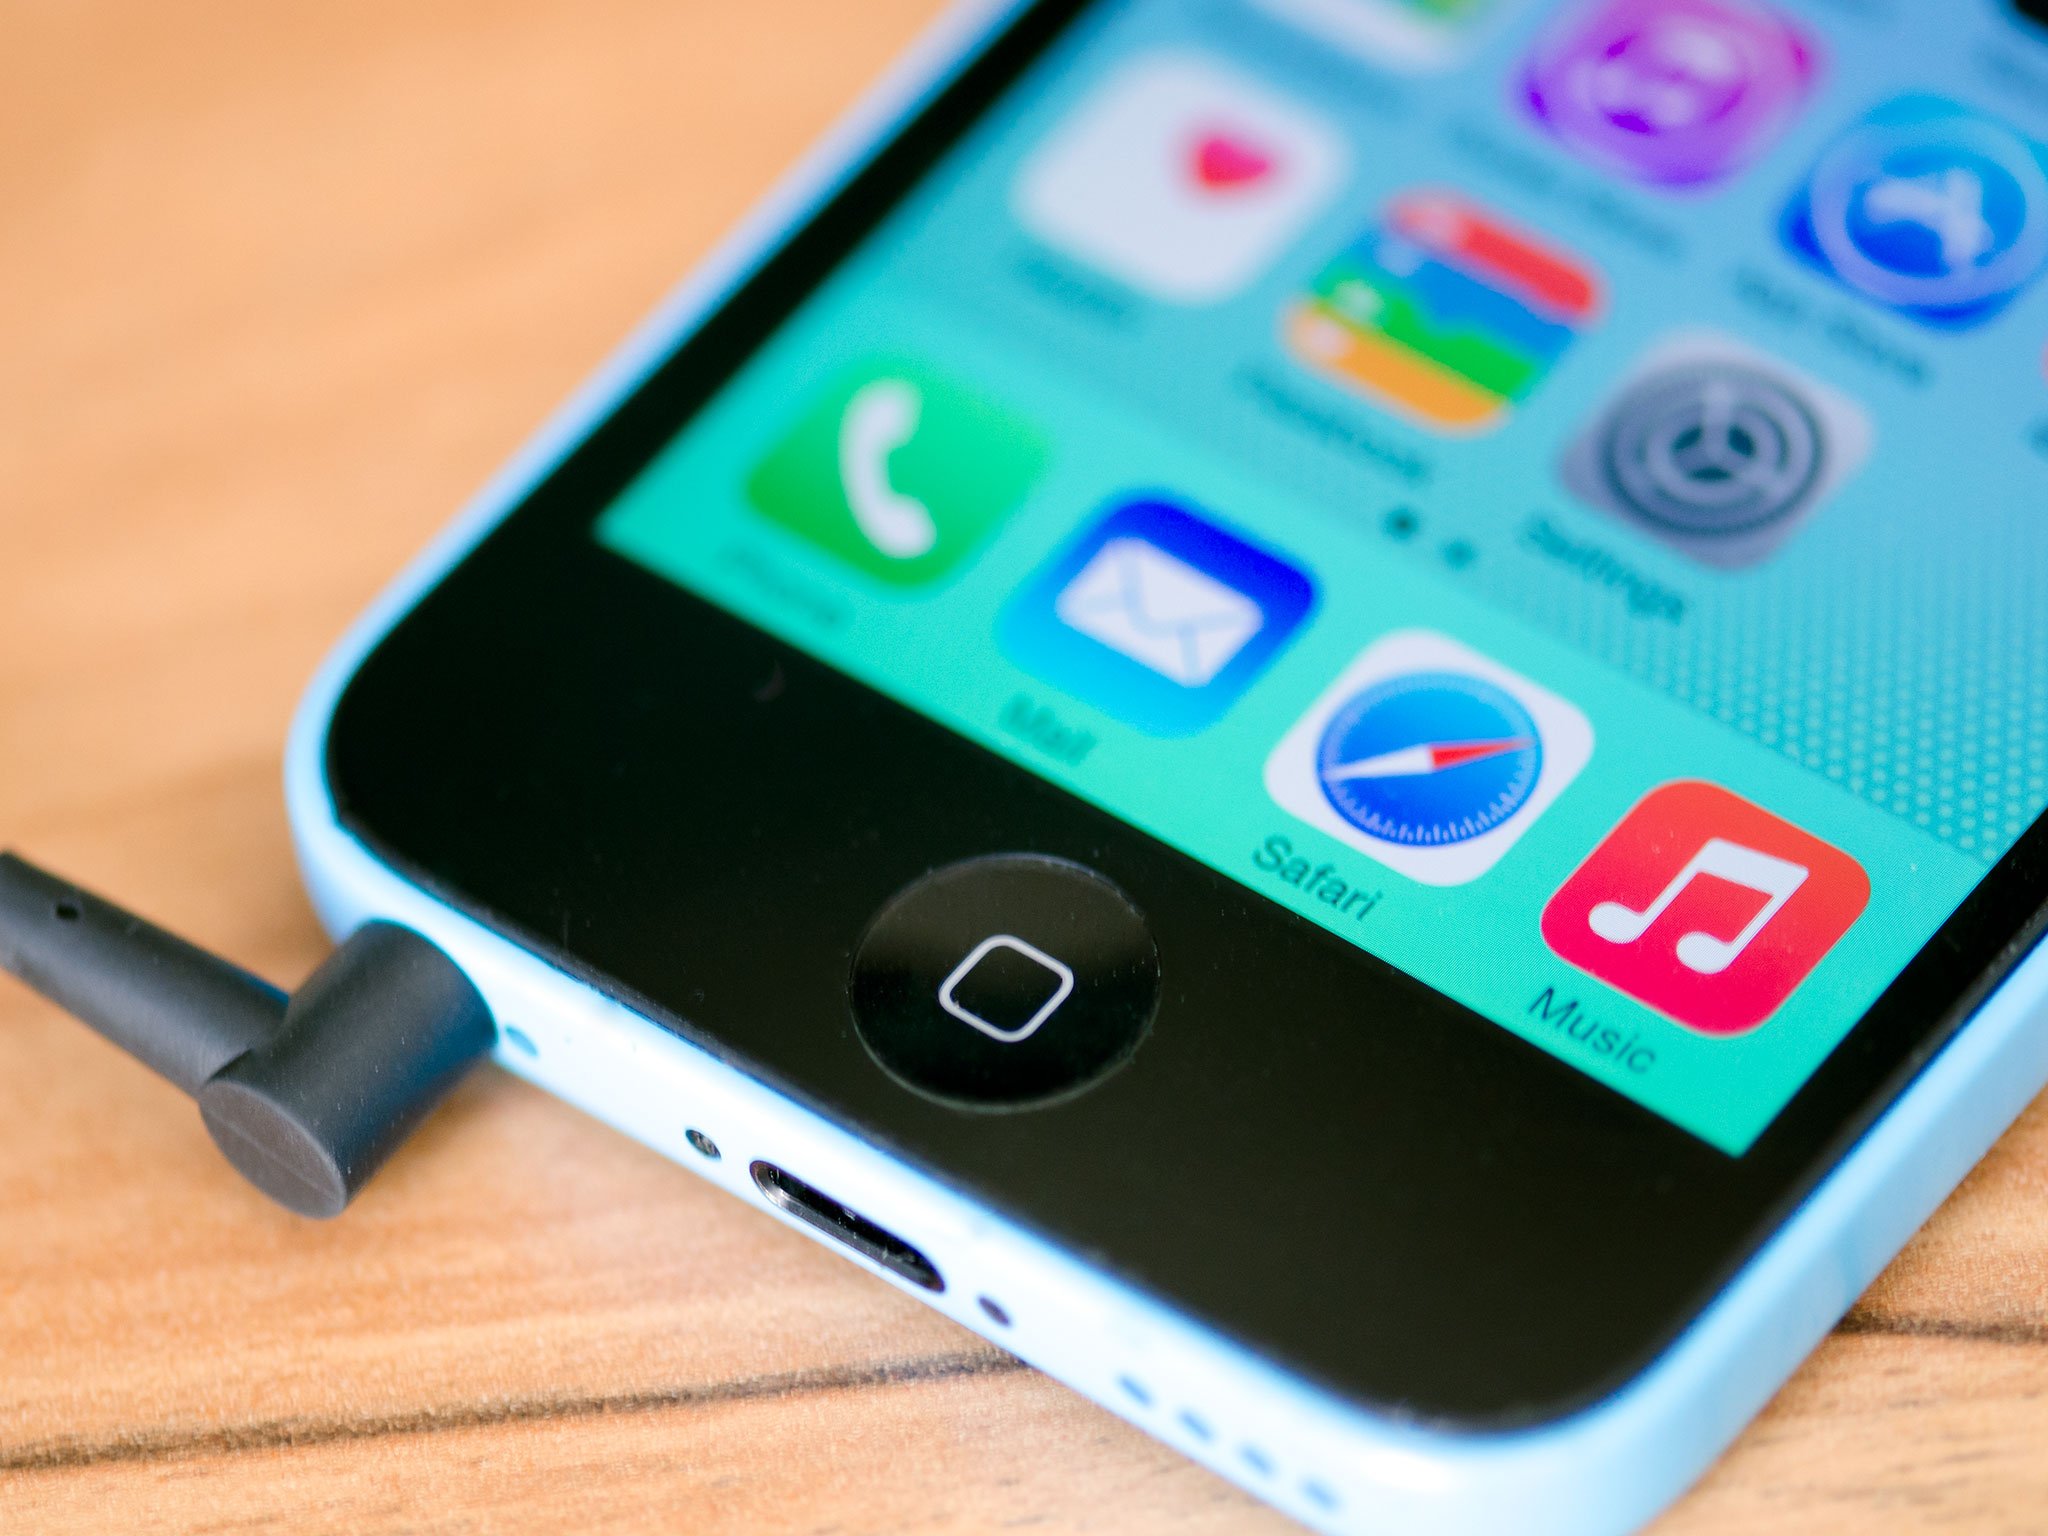
So your out of warranty iPhone has a busted headphone jack. If you'd rather fix it on your own instead of buying a new iPhone, you've come to the right place.
The symptoms of a broken headphone jack are similar in all models, and can include audio cutting in and out or no audio at all. In some cases, loud speaker audio won't work because your iPhone thinks headphones are plugged in when they're really not.
If any of these issues sound like something you've experienced, we'll walk you step by step through the repair process. We'll also link you to all the parts and tools you'll need to get the job done right the first time. The difficulty of a headphone jack replacement will depend on the iPhone model, but if you're up for the challenge, follow along, find your model, and let's get started!
iPhone 5s
An iPhone 5s headphone jack replacement is very similar to both the iPhone 5 and iPhone 5c. It's part of the dock assembly and comes out all as one piece. The only extra challenge you'll experience during this repair is making sure you don't damage Touch ID when you open your iPhone 5s and disconnect it from the dock assembly. As long as you keep an eye out for those little things, you'll be just fine.
iPhone 5c
The iPhone 5c is essentially an iPhone 5 with a plastic, more colorful shell. There are some internal differences you'll have to watch out for, which makes this repair slightly different. Regardless, a headphone jack replacement in an iPhone 5c is fairly straightforward and will only take about 30 to 45 minutes of your time. It's also a heck of a lot cheaper than a new iPhone.
iPhone 5
The iPhone 5 re-located the headphone jack from the top of the iPhone all the way to the bottom. That means the repair is quite a bit different than the models that came before it. Don't worry, that's a good thing. The headphone jack in the iPhone 5 is part of the dock assembly, which is much easier to get to and replace than previous generations. It'll also resolve any issues you may be having with charging or connecting to iTunes as well.
iPhone 4s
The iPhone 4s headphone jack is on the same cable that controls the mute switch. So to fix a broken headphone jack, you'll have to replace the entire cable. This repair is slightly intricate but not terribly difficult for anyone with moderate to intermediate DIY skills. Just take your time and be sure not to tear any cables during the process.
iPhone 4
The headphone jack in the GSM iPhone 4 is part of the volume and mute switch cable, making it slightly different than the iPhone 4s. This is a slightly intricate repair and you'll have to take care not to snag or tear any cables. I'd recommend attempting it only if your DIY skills are moderate to intermediate. And as long as you take your time and don't rush, you'll get through just fine.
Remember the iPhone 4 came in two varieties, GSM and CDMA. What carrier you have will determine which guide you need to follow. The internals are different. If your iPhone 4 contains a SIM slot on the side, you want the GSM guide. If it does not (meaning you have Verizon), use the CDMA guide instead.
More DIY help
We're always adding more DIY guides and walkthroughs as new iPhones come out. You can check out our DIY repair section for all of our other guides. If you can't find a guide you're looking for, would like to suggest one, or have a question before, during, or after a repair, feel free to email me directly!


No comments:
Post a Comment